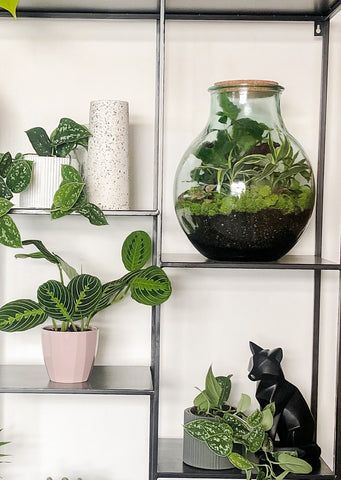
Have you ever seen those big glass jars that are home to multiple plants living inside? Well, those have a big fancy name and are called terrariums!
A glass terrarium is basically a mini garden inside an enclosed environment and consists mainly of plants and soil. When you build a terrarium, the plants inside the glass vessel create their own self-sustaining ecosystem where they learn to water themselves through transpiration and condensation. Pretty neat, huh?

How does a Terrarium work?
Basically, the warmth from the sun gets things heated up inside the terrarium. The sun forces the moisture build-up to evaporate leading the water to hit the cooler glass sides. This process creates its own “rainfall” by forming droplets on the sides of the glass container. These droplets drip down the sides of the glass container back into the soil. And then the process repeats!
Terrariums are perfect for people who want plants in their home but don’t have the space or time to care for them! Tropical indoor plants, with minimal effort - now that’s what we call a win-win. Let’s explore how to make one.
DIY Terrarium Supplies
To build your terrarium, you’ll need:
- A glass container (just like Boris)
- Cork Lid
- Plants of your choice - small enough to fit in the glass container.
- Potting Mix or soil
- Lava Rocks
- Moss

Our List of plants we recommend putting inside a terrarium
Lee-Anne | Croton Gold Dust
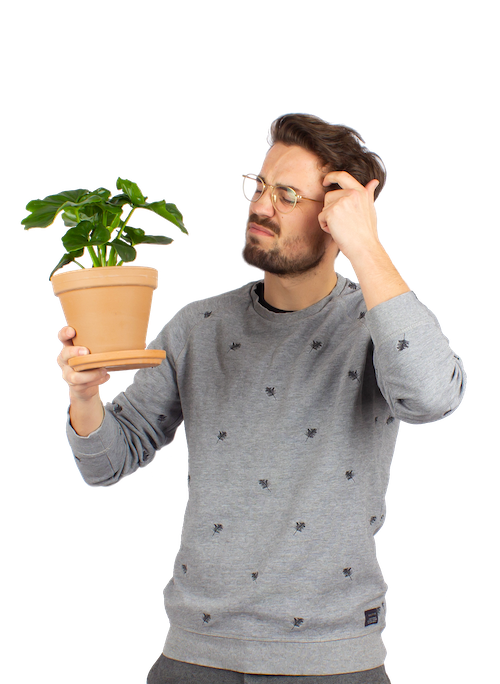
Gino | Coffee Plant | Coffea Arabica
Nala Jr. | Nerve Plant
Fred | Air Plant
Crystal | Moon Valley Pilea
Conrad | Green Ribbon Plant
Assorted Cactus and Succulents
Step 1:
Cover the bottom of your glass container with lava rocks (or a layer of pebbles) so that the you can’t see the bottom of the container. These rocks are important because it allows for self-regulating drainage once the lid is closed.
Step 2:
Add a generous layer of potting soil or potting mix to cover the lava rocks. Add enough potting soil so that the soil is deep enough for your plants to be supported and to eventually root into the soil.
Step 3:
Arrange your plants the way you’d like them to appear in the terrarium and pot them inside. We recommend adding your largest plant in selection first so that you can arrange your smaller plants around it. Don’t be alarmed if your plants are touching the sides of the terrarium. These plants get real hot and heavy inside… literally.
*Be sure to remove plants from their nursery pots before adding them to your terrarium.
Step 4:
Add a layer of moss to bring your terrarium to life!
Step 5:
Put a cork in it! Once you’re satisfied with the look of your terrarium, place a cork lid on top to close it up. And then watch the magic unfold!

Caring for your terrarium
As we mentioned, closed terrariums are self-regulating and don’t need much to survive. The key to keeping your terrarium alive is enough bright, indirect sunlight and water. As long as the soil is moist when you build your terrarium the first time, there will be no need for additional watering.
However, if you notice that your terrarium’s soil is starting to look a little dry, don’t be afraid to give it a little water. But for the most part, your terrarium should live in its own self-regulating ecosystem, and will likely outlive you!
The only time you should take off the lid is if you see condensation building up! Remove lid until condensation disappears. Do not leave the terrarium open for more than one day.
If you have any questions about what other plants can be included or want to know more about Boris, shoot us an email at hello@plantsome.ca


